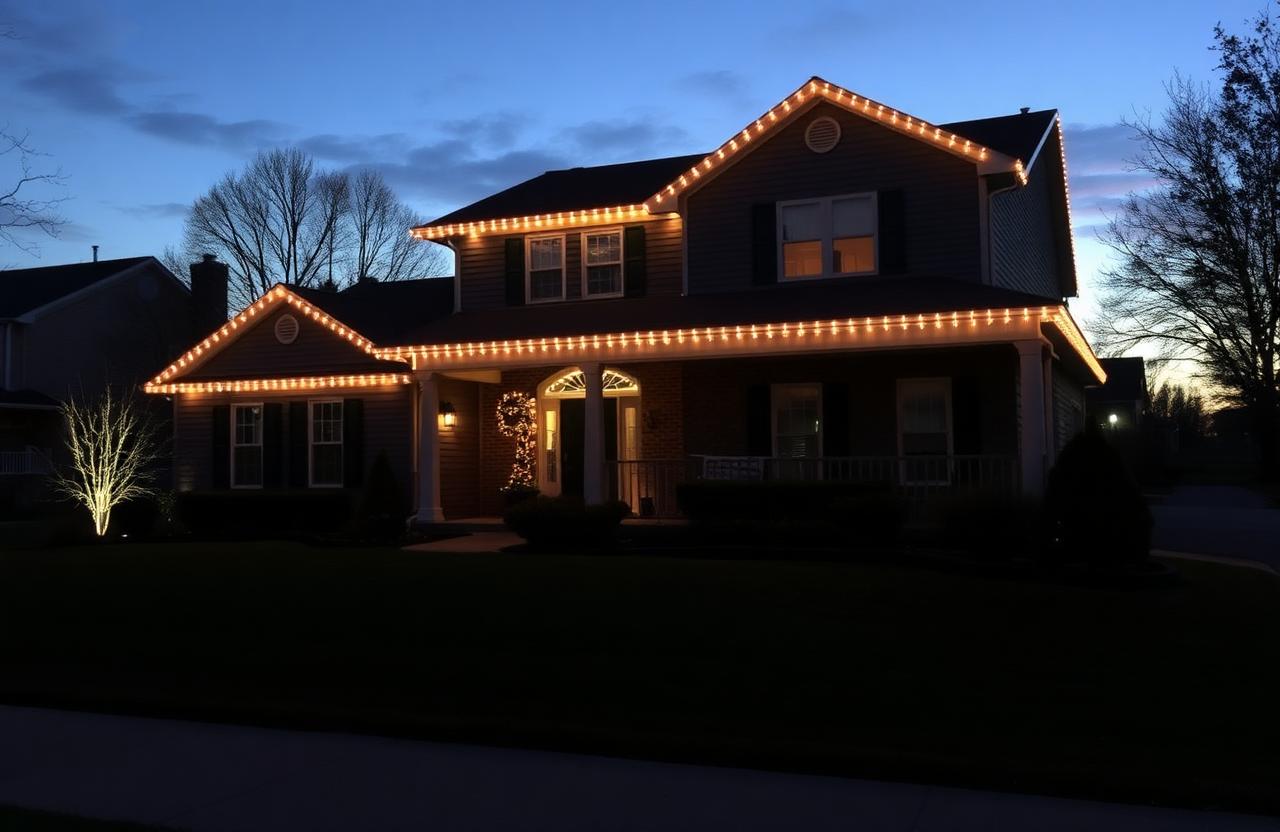
Deck lighting is the rare residential outdoor lighting category that can dramatically improve both safety and aesthetics with a relatively modest spend. A well-lit deck extends usable hours on the deck itself, adds visible nighttime presence to the back of the home, and addresses real fall hazards that bright porch lights alone don't fix.
This guide covers the four main categories of deck lighting (step, rail, post-cap, and overhead), how to plan a layered design across all four, and the installation details that determine whether your deck lighting lasts five years or fifteen.
The Four Deck Lighting Categories
**Step lights** are small fixtures recessed into the riser face of each step, or set into the stringer beside the step. They illuminate the step surface itself, addressing the single biggest fall hazard on any deck — the unseen step in the dark. Every deck with stairs needs step lights, regardless of any other lighting on the deck.
**Rail lights** are mounted on the underside of the top rail, or built into the rail cap itself, washing soft light downward across the deck surface and the rail balusters. They provide ambient deck lighting and define the deck's perimeter visually at night.
**Post caps** are LED fixtures that replace the standard wood or composite cap on each rail post. They serve as accent lighting and as low-level area lighting, casting soft light downward onto the deck surface from each post location.
**Overhead lighting** is anything mounted above the deck — pergola lights, downlights under a covered roof, hanging pendants over dining areas, or string lights overhead. Overhead lighting handles task and ambient lighting needs for actual use of the deck.
Most deck lighting projects combine 2–3 of these categories. Step lights are non-negotiable on any deck with stairs. The other categories layer on based on deck size, use, and budget.
Planning the Layout
Start by sketching the deck plan and marking every location that needs light:
- Every step on every staircase: one fixture per step on the riser face, or alternating fixtures on alternate stringers - The perimeter of the main deck surface: rail lights or post caps at regular intervals - Any seating area, dining area, or grill location: dedicated overhead or accent lighting - Any elevation change on the deck itself (sunken seating, raised hot tub deck): step lights at the transition
A typical 12x16 foot deck with a 4-step staircase needs: 4 step lights on the stairs, 4–6 rail lights or post caps around the perimeter, and 2–4 overhead fixtures over the seating area. Total fixture count: 10–14, total install cost in 2026: $2,500–$5,500.
Step Lights: The Most Important Category
Step lights belong in two places per stair: recessed into the riser face just below the tread (illuminating the step surface from above), or set into the stringer at tread height (illuminating the step from the side). Either works; never combine both on the same stair (it produces double shadows and reads cluttered).
Riser-mount step lights are usually the cleaner aesthetic — the fixture is invisible from above and only the lens shows from the lower viewing angle. Stringer-mount step lights are easier to retrofit on existing decks (no need to drill the riser face) and work well on stairs without a riser face (open-riser stairs).
Use 1–2 watt LED step lights at 2700K. Higher wattage creates hot spots on the tread surface; the right effect is a soft glow that lets you see every tread edge clearly without harsh shadow. Spacing is one fixture per step for stairs up to 36 inches wide, two fixtures per step (one each side) for wider stairs.
Rail Lights: Soft Perimeter Glow
Rail lights mount on the underside of the top rail, throwing light downward across the deck surface and the rail balusters. The result is a soft, even glow that defines the deck's perimeter visually at night and provides enough ambient light to walk safely without overhead fixtures.
Two installation options: linear LED strips mounted in a channel along the underside of the top rail (continuous glow, best for modern aesthetic), or discrete puck lights mounted at 24–36 inch intervals (more traditional, easier to install).
Linear strips run $20–$50 per foot installed; puck lights run $25–$60 each installed. For a typical 12x16 deck with 40 linear feet of railing, expect $800–$2,000 for rail lighting depending on choice.
Post Caps: Accent and Perimeter
Solar post caps are popular and almost universally disappointing — they produce dim, blue-toned light and fail in 1–2 years. Wired post caps ($30–$80 each, plus $20–$40 per fixture installed) are dramatically better, with consistent warm-white output and long life.
Choose post caps when the rail design has 4–6 posts and post-cap lighting will provide both accent and ambient lighting. Skip post caps when the rail has 10+ posts (they become visually busy) or when you want continuous illumination along the rail (use rail lights instead).
Wiring Strategy
Almost all deck lighting in 2026 uses 12V low-voltage. The wiring runs from a transformer (usually mounted on the house exterior near the deck) to each fixture via hidden cable runs. The challenge on decks is that the cable runs need to be hidden but accessible for future repair.
The standard approach: run the main cable inside the rim joist on the underside of the deck, with branch runs up through hollow rail posts or along the underside of stair stringers to each fixture. Use direct-burial-rated cable even though it's not buried — the additional weather resistance matters in an outdoor application.
For new deck construction, plan all wiring before the deck boards go down. Cable runs through the framing are infinitely easier to install during construction than retrofit. Talk to the deck builder about lighting at the same time you're planning the deck itself.
Connections and Weather Sealing
Every connection point is a potential failure. Use only hub-style waterproof gel-filled connections for low-voltage splices. Pierce-point connectors fail faster on decks than anywhere else because foot traffic and weather both work against them.
Mount the transformer in a sheltered location — ideally on a sidewall under the deck or against the house under an overhang. Don't mount it on the deck itself or on the underside where snow accumulates against it.
What Quality Deck Lighting Costs
Installed pricing in 2026 for a typical residential deck:
- Basic (step lights only, no other deck lighting): $800–$1,800 for a 4–6 step staircase - Standard (step lights + rail lights or post caps): $2,500–$5,500 for a 12x16 deck - Premium (step lights + rail lights + post caps + overhead pergola or downlights): $5,000–$12,000 for a 12x16 deck - Luxury (full integration with smart controls, color-tunable, layered scenes): $10,000–$25,000+ for larger decks with multiple zones
The standard tier is where most homeowners land and produces a deck that's both safer and dramatically more usable after dark. The step lights alone — even if you do nothing else — pay for themselves the first time someone doesn't fall down the stairs at night.
Key takeaways
- The Four Deck Lighting Categories
- Planning the Layout
- Step Lights: The Most Important Category
- Rail Lights: Soft Perimeter Glow
- Post Caps: Accent and Perimeter
Frequently asked
- What's the takeaway from "Deck Lighting Installation Guide: Step Lights, Rail Lights, and Post Caps"?
- How to plan and install deck lighting that looks built-in — step lights, rail lighting, post caps, and the wiring strategies that survive weather and foot traffic.
- Do you install outdoor lighting nationwide?
- Yes — across 30+ states and growing. Browse the locations directory for your city.
Related services
Featured service areas
Keep reading
How to Choose Landscape Lighting Fixtures That Last 10+ Years
A homeowner's guide to picking outdoor landscape lighting fixtures, transformers, bulbs, and wiring that survive a decade outside without fading, corroding, or failing.
Permanent Holiday Lighting Cost, Pros and Cons (2025 Buyer's Guide)
Permanent holiday lighting (Trimlight, Jellyfish, Everlights) explained: real installation cost, how it works, warranty red flags, and the questions to ask before you sign.