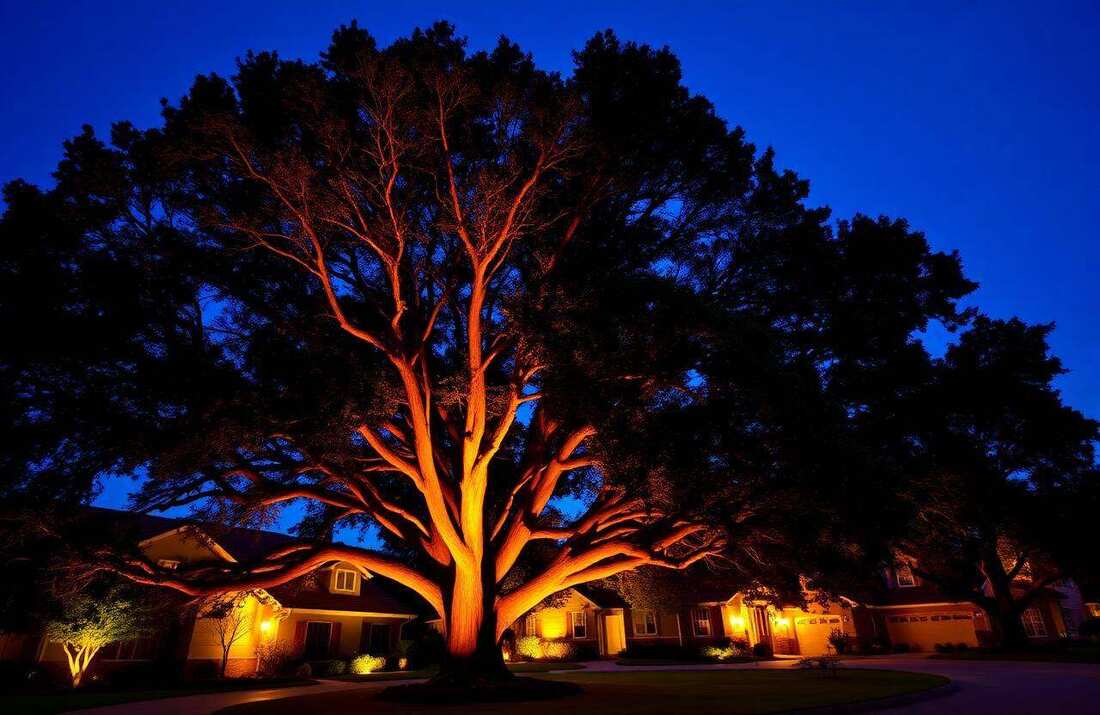
Driveway lighting is the most over-lit category in residential outdoor lighting. Homeowners install bright bollards every 10 feet from the street to the garage, line both sides symmetrically, and end up with a driveway that looks like a commercial parking lot — bright, harsh, and aggressive when seen from the street at night.
Good driveway lighting does the opposite. It guides cars safely along the drive, illuminates the transitions and decision points that matter, and otherwise stays subtle enough that the eye is drawn to the home and landscape rather than to the driveway itself.
The Right Way: Mark Decisions, Not the Full Length
Drivers don't need continuous bright lighting along the full length of a driveway. What they need is clear visibility at the decision points: the entrance from the street, any curves or grade changes, the transition to the garage or parking area, and any branch points where the driveway splits.
Plan driveway lighting around those decision points and skip the long straight stretches in between. A typical 100-foot residential driveway needs lighting at the street entrance (2 fixtures flanking), at the major curve (2–3 fixtures), and at the parking area or garage approach (2–3 fixtures). That's 6–8 fixtures total for the entire driveway — not the 12–18 most homeowners install.
The unlit stretches in between are fine. Headlights handle them. The eye reads pools of light at the decision points as 'designed' and the unlit sections as 'restful,' rather than reading 12 evenly spaced fixtures as 'institutional.'
Fixture Choice: Path Lights, Bollards, or Down-Lights
For most residential driveways, path lights are the right fixture — same hardware as walkway path lighting, just spaced more widely and aimed slightly more conservatively to avoid glare for drivers.
Bollards (taller, more substantial fixtures, typically 30–48 inches) work for longer driveways and more formal architecture, especially Mediterranean, Tuscan, and grand traditional homes where the bollard's vertical mass reads as architectural. Bollards run $400–$900 per fixture installed versus $200–$400 for path lights.
Down-lights mounted in trees overhanging the driveway are the most elegant solution when the property allows it. A 10-watt down-light 25 feet up in a mature shade tree throws a soft moonlight-style pool of light across 15–20 feet of driveway surface, with zero visible fixture from the driver's perspective. This is the technique used on most luxury rural and estate driveways.
Spacing and Placement Rules
For path-light-style driveway lighting, the rules differ from walkway path lighting:
- Spacing: 12–18 feet apart along the driveway, not 8–10 feet like walkways - Setback: 24–36 inches off the driveway edge, far enough to avoid being clipped by tires and snow plows - Side: one side of the driveway only for most residential applications; both sides only for very long or very wide drives, and even then with offset staggering - Aim: angle slightly away from the centerline of the driveway to avoid glare for approaching drivers
The 'one side only' rule is the single biggest improvement most driveways could make. Two-sided symmetrical driveway lighting almost always reads as commercial. One-sided lighting reads as designed.
The Entrance: Anchor With Two Fixtures
The entrance to the driveway from the street is the one place where symmetry works. Flank the entrance with two matching fixtures — either path lights, bollards, or post-mounted lanterns — to clearly mark the property boundary and the start of the drive. These fixtures should be slightly larger or brighter than the rest of the driveway lighting, since they're carrying the visual weight of the entrance.
If the property has driveway columns or piers (common with brick or stone entrances), the right fixture is a wall-mounted or pier-cap lantern. Choose 2700K warm white, with a fully-shielded design so light spills downward onto the driveway rather than out into the street.
Lighting Curves and Grade Changes
The most dangerous spots on any residential driveway are unlit curves and grade changes. A driver coming down an unfamiliar driveway after dark, in rain, with a curve halfway, has nothing but headlights to read the geometry. Adding a single bollard or path light at the apex of every curve and at the top of every grade change makes the geometry instantly readable.
For curves, place one fixture on the outside of the curve at the apex — drivers naturally look outward through a curve, and a fixture on the outside line reinforces the path of travel.
For grade changes (especially crests where headlights briefly point at the sky), place a fixture just past the crest so drivers see something on the ground as they come over.
The Garage Approach
The transition from driveway to garage is the second-most-used part of any residential driveway lighting system. It needs slightly more light than the rest of the driveway because drivers are slowing down, parking, and often unloading.
The right combination is two flanking path lights or bollards at the start of the parking area, plus the garage's own exterior wall sconces. Avoid bright motion-activated floodlights on the garage face — they're harsh, they wash out the rest of the lighting, and they almost always trigger on wildlife, neighbors, and wind-blown leaves. Use warm-white wall sconces on a timer or photocell instead, with motion-activated lighting only as a supplement for security on side or rear garage faces.
Long Rural Driveways
Driveways over 200 feet are a different design problem. Continuous fixture lighting along the full length is impractical (cost) and undesirable (glare, light pollution). The technique that works is widely-spaced markers — small bollards or reflective driveway markers every 30–50 feet — combined with brighter focal lighting at the entrance, midpoint, and parking area.
For very long driveways (500+ feet), consider solar bollards spaced every 30 feet along the drive, with full landscape lighting reserved for the entry and the home itself. Solar isn't a great fixture choice in most other applications, but for long-driveway way-finding it's the only practical answer.
What Driveway Lighting Costs
For a typical 100-foot residential driveway with 6–8 quality fixtures, expect $1,800–$4,000 installed in 2026. A 200-foot driveway with entrance lighting, curve markers, and parking area illumination runs $4,000–$8,000. A long rural driveway with full integrated lighting runs $8,000–$20,000+.
The right priority order: entrance lighting, then garage approach, then curves and grade changes, then the long straight runs in between. Most homeowners can skip the straight runs entirely and end up with a better-looking driveway for half the cost.
Key takeaways
- The Right Way: Mark Decisions, Not the Full Length
- Fixture Choice: Path Lights, Bollards, or Down-Lights
- Spacing and Placement Rules
- The Entrance: Anchor With Two Fixtures
- Lighting Curves and Grade Changes
Frequently asked
- What's the takeaway from "Driveway Lighting Design: Guiding Cars Without Lighting a Runway"?
- Driveway lighting design for residential properties — fixture placement, spacing, and the techniques that guide cars safely without making a driveway look commercial.
- Do you install outdoor lighting nationwide?
- Yes — across 30+ states and growing. Browse the locations directory for your city.
Related services
Featured service areas
Keep reading
How to Choose Landscape Lighting Fixtures That Last 10+ Years
A homeowner's guide to picking outdoor landscape lighting fixtures, transformers, bulbs, and wiring that survive a decade outside without fading, corroding, or failing.
Permanent Holiday Lighting Cost, Pros and Cons (2025 Buyer's Guide)
Permanent holiday lighting (Trimlight, Jellyfish, Everlights) explained: real installation cost, how it works, warranty red flags, and the questions to ask before you sign.