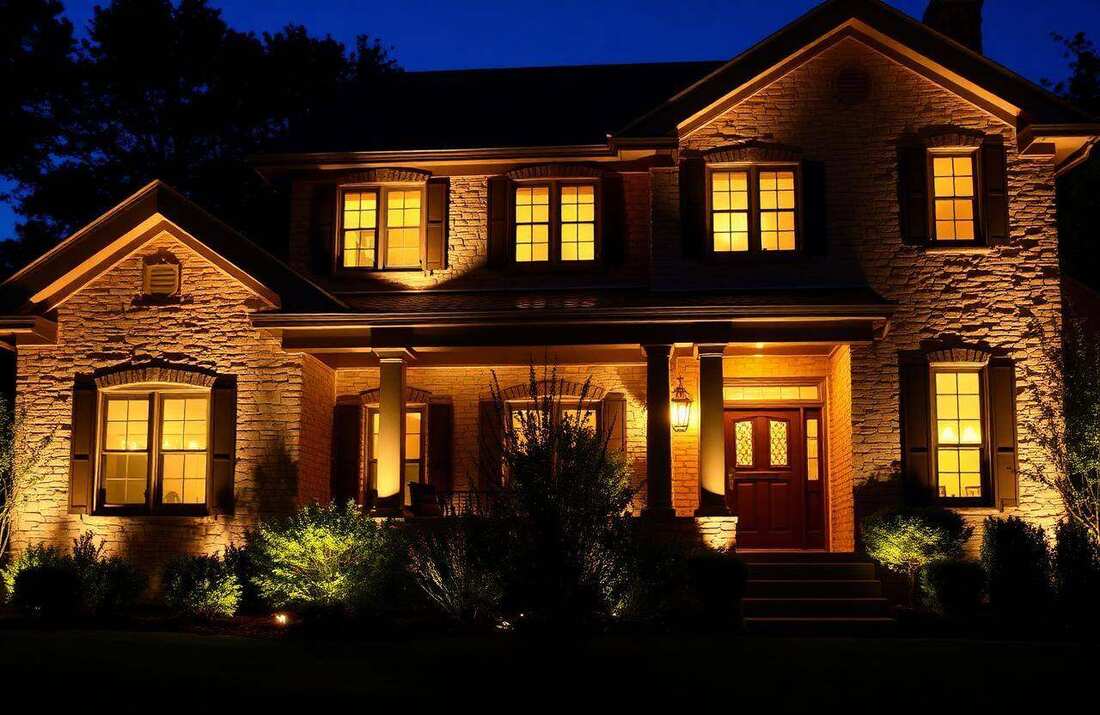
A patio or pergola is the single most-used outdoor space on most residential properties, and the single most under-lit. Most homeowners install one wall sconce, hang a strand of bistro lights, and call it done. The result works for casual evenings but feels flat for everything else — dining, entertaining, late-night reading, kids playing after dinner.
The fix is the same approach interior designers use indoors: layered lighting. Combine three independent layers (ambient, task, and accent) with separate dimmers, and the same patio becomes a different room for every occasion.
Layer 1: Ambient — The Overall Glow
Ambient lighting sets the overall brightness and mood of the patio. It should be soft, indirect, and never aimed at where people sit. The classic move is warm-white LED string lights (the bistro-bulb kind) strung between pergola posts, draped from a single anchor at the house out to two posts in the yard, or attached to the underside of a covered patio roof.
For a typical 16x16 foot patio under a pergola, plan on 50–80 feet of string lights with bulbs spaced 12 inches apart. Use commercial-grade LED string lights with shatter-resistant bulbs and weather-rated sockets — the cheap consumer-grade strings fail in 1–2 seasons. Quality strings last 5–8 years and run $80–$150 per 50-foot strand.
For pergolas without a clean attachment plan, recessed LED downlights mounted in the underside of the pergola roof work as the ambient layer. Use 3–4 inch round LED downlights at 6–8 watts each, spaced 6 feet apart, with dimmable drivers. Total cost installed for a 16x16 pergola: $600–$1,400 for 4 fixtures.
Layer 2: Task — Dining and Cooking
Task lighting is bright, directed light for specific activities — dining at the table, cooking at the grill, reading by a chair. It should be brighter than ambient and aimed precisely where the task happens.
For dining tables, the right fixture is a single pendant or chandelier centered over the table, hung 30–36 inches above the table surface. A pendant at this height illuminates faces and the table surface without glaring into anyone's eyes. Use a 1500–2500 lumen warm-white pendant on a dimmer; this is bright enough to comfortably read a menu and dim enough to feel intimate at the end of a meal.
For grills and outdoor kitchens, add a dedicated task light — usually a small directional LED under a pergola beam or above the cabinetry — aimed at the cooking surface. Most residential outdoor kitchens are completely unlit and chefs end up cooking by touch after sunset. A single 5-watt directional fixture solves it.
Layer 3: Accent — Architecture and Plants
Accent lighting adds visual depth by lighting the architecture and plantings around the patio. This is where landscape lighting techniques come into play: up-lights on pergola posts, grazing lights on stone walls and fireplace surrounds, small spot lights on container plantings and small trees adjacent to the patio.
The right accent lighting is what separates a patio that looks like a usable space from one that looks like a designed room. Without accent lighting, the patio is a bright island in a dark yard. With it, the patio extends visually into the surrounding landscape and feels much larger than its actual footprint.
Use the same fixture standards as the rest of the landscape lighting — brass or copper, 2700K warm white, dimmable. Plan on 4–8 accent fixtures for a typical patio at 3–5 watts each.
Separate Dimmers for Every Layer
The single most important principle in patio lighting is independent dimmer control for each layer. Ambient at one dimmer, task at another, accent at a third. The same physical lighting system then becomes different rooms for different uses:
- Quiet evening reading: ambient at 30%, accent at 50%, task off - Dining: ambient at 50%, task at 80%, accent at 50% - Entertaining a group: all three layers at 70–80% - Kids playing after dinner: all three at 100% - Watching a movie outside: ambient at 20%, accent at 30%, task off
Without separate dimmers, you're stuck with one setting. With them, the patio is a different room every night.
Don't Forget the Floor
The mistake most homeowners make is lighting only the overhead and walls. The floor of a patio — especially stone or paver patios with texture — looks beautiful when softly washed with low fixtures from the perimeter. Step lights set into seat walls and elevation changes do double duty by handling safety lighting and accenting the floor surface.
Use 1–2 watt step lights spaced 4–6 feet apart along any wall, seat wall, or stair transition. They're inexpensive (around $80–$150 each installed), low-wattage, and dramatically improve how the floor reads at night.
Material and Code Notes
Every fixture on a covered patio or pergola must be rated for damp or wet locations (different ratings, both required for outdoor use, both clearly labeled on quality fixtures). Pendant fixtures over a dining table should be wet-rated if the table is in a location that could get rain — even under a pergola with a partial canopy, wind-driven rain reaches the fixture.
All electrical work for line-voltage fixtures should be GFCI-protected and code-compliant. Use a licensed electrician. Most residential patio lighting installs combine line-voltage for the overhead pendants and downlights with low-voltage 12V for the accent and step lights — the low-voltage portion is generally homeowner-DIY-friendly if you're comfortable, and the line-voltage portion needs a pro.
What a Layered Patio Lighting System Costs
Full layered patio lighting for a 16x16 covered patio in 2026 runs:
- Basic (ambient string lights + 1 pendant + 4 step lights): $1,500–$3,000 installed - Standard (recessed downlights + pendant + grill task + 6 accent fixtures + 6 step lights): $4,000–$8,000 installed - Premium (full architectural integration, multi-zone dimming, smart control, custom pendants, integrated landscape accents): $9,000–$18,000+ installed
The standard tier is where most homeowners land, and it produces a patio that genuinely feels like a designed room. The premium tier is for homes where the outdoor living space is the centerpiece of the property and gets used year-round.
Key takeaways
- Layer 1: Ambient — The Overall Glow
- Layer 2: Task — Dining and Cooking
- Layer 3: Accent — Architecture and Plants
- Separate Dimmers for Every Layer
- Don't Forget the Floor
Frequently asked
- What's the takeaway from "Patio and Pergola Lighting Ideas: Layered Outdoor Living Spaces"?
- How to light a patio or pergola for everyday use, entertaining, and dining — layered ambient, task, and accent lighting that turns an outdoor space into a real room.
- Do you install outdoor lighting nationwide?
- Yes — across 30+ states and growing. Browse the locations directory for your city.
Related services
Featured service areas
Keep reading
How to Choose Landscape Lighting Fixtures That Last 10+ Years
A homeowner's guide to picking outdoor landscape lighting fixtures, transformers, bulbs, and wiring that survive a decade outside without fading, corroding, or failing.
Permanent Holiday Lighting Cost, Pros and Cons (2025 Buyer's Guide)
Permanent holiday lighting (Trimlight, Jellyfish, Everlights) explained: real installation cost, how it works, warranty red flags, and the questions to ask before you sign.